Monday, August 30, 2010

Love at first sight


I am contemplating on getting an embroidery sewing machine and looked it up on the internet. I went to Brother Malaysia website and drooled at all the hi-tech computerized embroidery machines which can go up to RM26,999! Anyway, I fell in love with this handsome piece of work; INNOV-IS 900 which recommended retail price is RM3,999. 

I would appreciate some feedback from anybody who is using this machine. What are the plus and negative points? How is it compared to any of the Epal embroidery machine? 

It’s in my wishlist. Target date to get it? hmmm must think very hard...


Sunday, August 29, 2010

A notebook cover and more tops and dresses

I’ve promised a friend to make her a notebook cover (netbook to be exact) when I saw her own cover was rather ‘tired’ looking with coffee stains. As usual, it went down the list of things to make and yesterday I had a reason to get it done. We’re break fasting together at Restoran Mukmin (a branch of Haji Shahrin Low’s) in Shah Alam; a good time to pass her the cover. So I cranked up the machine and got this made in a couple of hours. I hope you like it Atty. 


I also made another Sweet Knot Dress and Capri set for Soraya in Robert Kaufman fabric. Simply love the combo.
Sophea, Soraya’s elder sister gets a peasant top with bodice.
Sophea and Soraya’s mummy requested a handphone cozy from Soraya’s scraps and here it is. I hope she likes it.


I have another break fast sessions with friends on Merdeka Day and thought of giving them my CD Toters. I’ve made one, four more to go. Just snapped the picture with the mess on my sewing table. 

Just a mention. I’m still doing the CD Toters on made to order basis. I’ve been busy with so many other sewing projects that I haven’t got the time to make stocks and put them up on the blog but if anybody is interested in the CD Toters, email me and we can discuss the details.


Posted by Picasa

Wednesday, August 25, 2010

A knot dress, a pinafore and tie top

My sister inlaw gave me the honour of making some dresses and tops for her two princesses. Being very new to dress-making, there’s a lot of guessing game when it comes to sizing. I hope the mommy like them and the princesses get a lot of wear out of these dresses and top lovingly made by Aunty Rozi.

Sweet Knot Dress for Isabel

Pinafore for Ilisa


Tie top for Isabel


Posted by Picasa

Monday, August 23, 2010

Designer Baby Bibs

Yesterday, I was busy making these bibs for my clients. Easy and fast but they took me the whole day with so many intermissions like supervising unifi installation, feeding my kids, watching hypptv and what have you. Here they are for viewing pleasure


Posted by Picasa

Sunday, August 22, 2010

Projects in Ramadhan


I’ve been busy making CD Toters for a good customer. This time it’s with a twist. She sent me her own material to work with. On top of that, I got a bit adventurous and added trimmings to the toters. Got bored with the square patchwork so I made free motion or crazy quilting in some of the toters. There’s supposed to be 10 toters but I took only 9 pictures. Already packed them for delivery so can’t take the one I’ve left out. You’ve seen one toter, you’ve seen them all I supposed. Nevertheless, here they are for my archive:


I took a week to finish up on the toters. Once I’m done with them, I started on Hannah’s tops, pants and capris. I am so honoured and touched when Hannah’s mommy said that this year she’s not shopping at Sogo for Hannah’s clothes. She sent me some pictures for inspiration and here’s my interpretation:

Sweet Knot Top and Capri pants.
Back view
Lil Arwen label
Sweet Knot Top and Capri pants in Grand Foliage and DelHi dots in pink
Capri in Dandy Damask Cocoa/Pink
Girl’s Easy Lounge Pants in ZigZag Zoo in Pink
Easy Peasant Top in Garden Friends Strawberry
Thank you Hannah’s mommy for your trust in my sewing skills. I hope Hannah gets a lot of wear from them.


Wednesday, August 11, 2010

I took after my dad


Recently somebody asked me who did I take after... meaning my interest in needlework and crafts. Without hesitation, my answer is “From my dad”. Well, he didn’t sew but he’s really good at making stuff with his hands. Way back then when people use to make their own toys or couldn’t afford to buy one, my dad would have the best looking, fine ‘lastik’ (slingshot) and be the envy of the other kampung (village) kids.

When he played golf, his wood would be the shiniest and polished one. He’d sandpaper it down and apply new coat of varnish.

When he retired, he went fishing a lot at the paid pool. He’d collect all the broken fishing rods people that people throw away and repaired them and made them new again. He even sold some to the owners who threw it away in the first place! :-) At home, my mom’s knives got their makeover when he replaced the old handles with new ones. Even the handles for pots and pans.

During Ramadhan, my dad made ‘pelita’ using Danial’s Gerber and Heinz bottles. Which reminds me, I need to take them out and clean them and put them out for this Ramadhan.

I’m dedicating this blog post to my dad (apart from the doa and sedekah for him, InsyaAllah). He’d be very proud of me. After all, I’m am daddy’s girl, and proud of it.

Semoga Allah mencucuri rahmat keatas rohnya dan tempatkan dia bersama orang-orang yang beriman, Amiiinnnn...


Wednesday, August 4, 2010

30 minutes easy handphone pouch tutorial

This is my 30 min easy handphone pouch. when the flap is down, it measures approximately 4.75” x 3”.

Why am I doing this tutorial:

  1. To catalogue my designs/patterns. I sketch on loose papers, recycled envelopes, anything and very bad at organizing and keeping my patterns. So, by having it here, I can refer to it the next time I want to make a pouch.
  2. Sharing is caring. 
  3. To have a go at writing a tutorial. And if anybody can actually make sense of this tutorial and make a decent pouch, I’ll be over the moon!
OK, moving on. You need:

1 piece of outer fabric (15.25” x 4”)
1 piece of inner fabric (15.25” x 4”)
1 piece of fabric for strap (13” x 2”)
batting (14.75” x 3”)
Hoop and loop (velcro)
My seam allowance is 0.5” unless otherwise stated.


Mark 0.5” from the edge on the inner fabric (on the wrong side of course)


Then, spray some adhesive and stick the batting on the wrong side of the inner fabric like shown above, keeping in the lines marked earlier. Press firmly and leave it for the time being. (If you have iron on fusible web thingy, just go ahead and use that)

Now for the straps. Press the strap into half, open it and fold both edges in (am I making any sense here?) so that you have 0.5” wide strap.


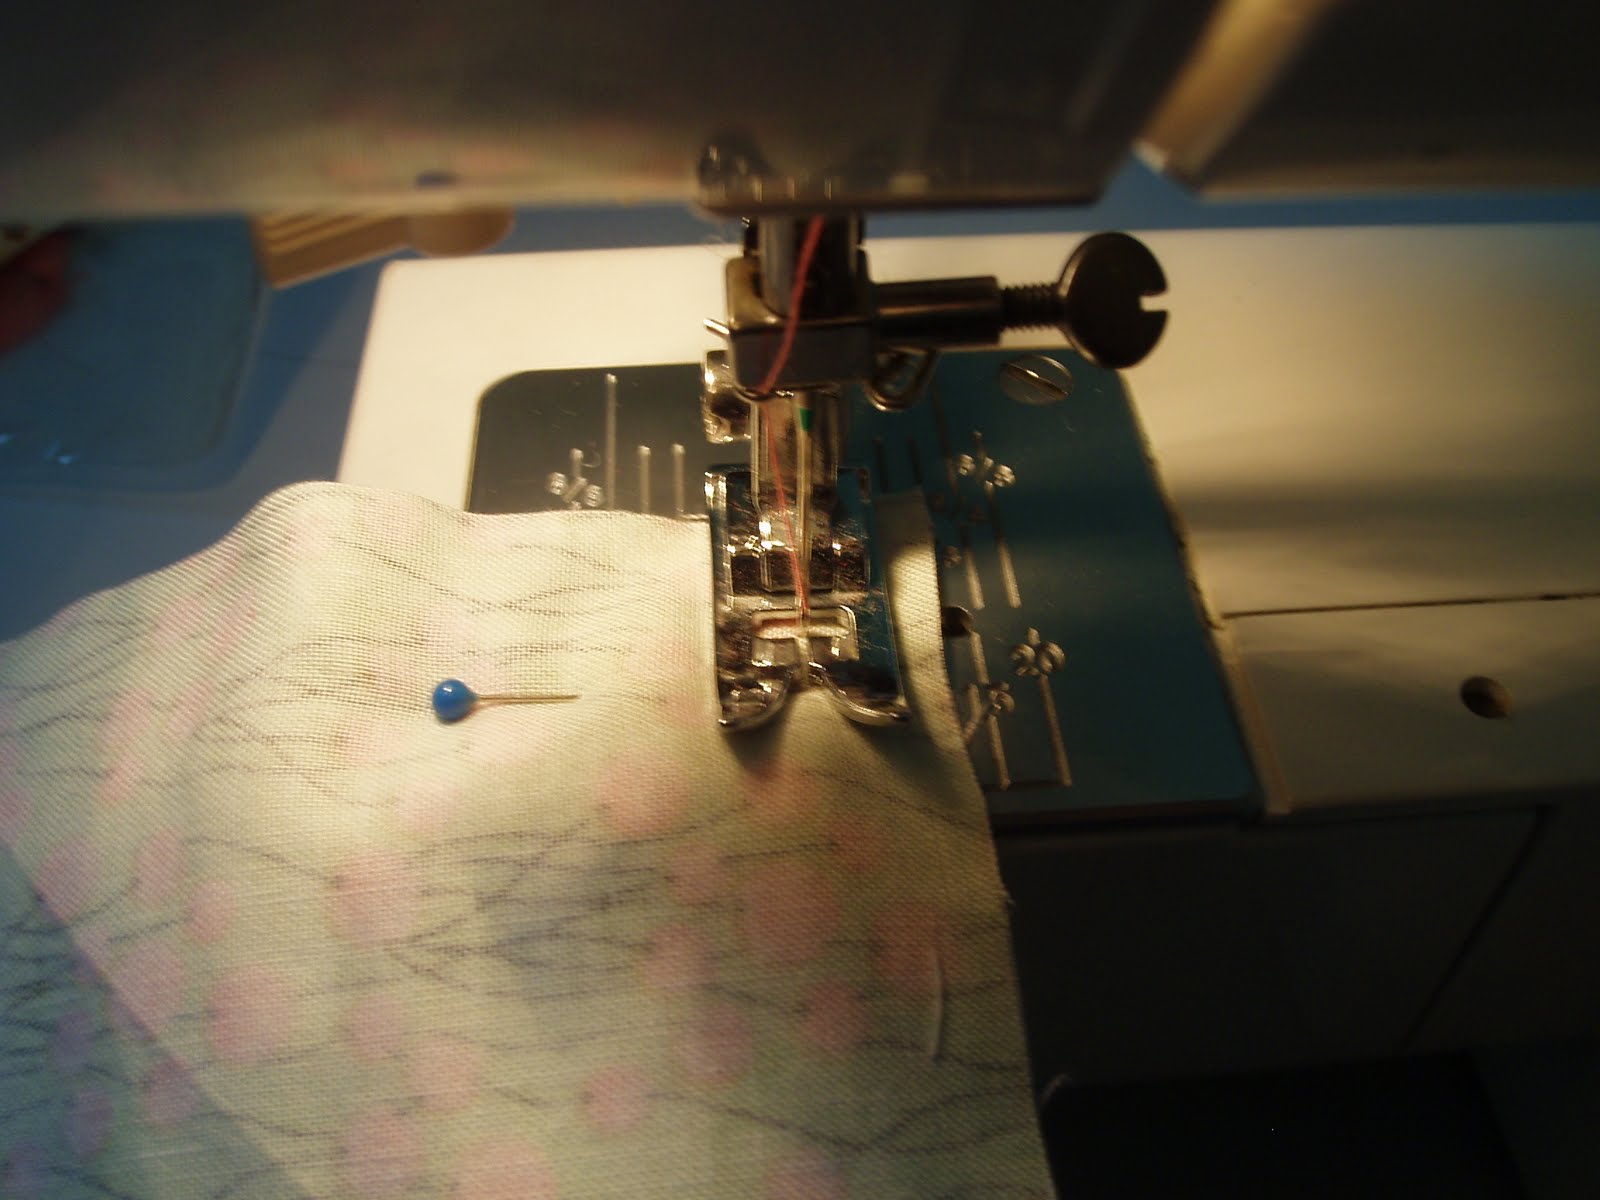
Now it’s time to crank up your machine and machine-stitch the strap keeping close to the edge. I like to keep it uniform and sew the other edge as well. Straps done, put is aside for later.


For the body, layer the outer and inner fabric right side facing each other, so you’d have batting, inner fabric and outer fabric in that order. Sew the shorter ends on both sides. (I find that it’s easier to sew with the batting on the bottom)

OK, stay with me. turn the fabric right side out on the side. My outer fabric is the green one and I fold in approximately 4.75” in like so:


Now, mark for the closure. I mark about 1” from the fold on the outer fabric and 0.5” from the edge on the inner fabric.
Tip: I stitch through the 3 layers for the closure on the outer fabric but just two layers (inner fabric and batting) on the inner fabric so you don’t see the stitches on the flap.

Machine stitch the velcro hoop and loop whichever side you prefer and you have something like this:


Turn it wrong side out again, This is the tricky part (to explain).  Sandwich the body of the pouch between the inner and outer fabric. You’d get the total measurement like so:


See, this is what I mean... 
You also want to get your strap and slip it in where you want to have it, sandwiched like above and machine stitch both sides leaving some space on one side to turn out your pouch. (Make sure you don’t stitch on the strap) Snip the corners. You can even trim down the seam if you want to but I just leave it. But corners, must snip.


Turn out your pouch the right side out from the small opening you left earlier and TADA!!! You’ve got yourself a pouch. The last bit is to hand stitch close the opening on both outer and inner sides of the pouch. It can be a reversible pouch if you use buttons. A matter of personal choice.
So, there you have it, a 30 minute easy handphone pouch (the size fits my Nokia MusicExpress too). You can embellish the pouch to your heart’s desire.

Good luck! Let me know if you do make one with this tutorial. I’d like to see the finished product.

Note: My apologies for the quality of the pictures. I’m using my old point and shoot Olympus. The photography process is the one that’s taking more time than making the pouch itself!

This tutorial is for PERSONAL USE only.


Nuffnang