Showing posts with label leather. Show all posts

Tuesday, March 20, 2018

5 crafty things you can do with your kids during the school break

So the school break is here. I dare say, it’s not something WAHMs look forward too. Having the kids around the house more often than not just screws up your routine, your plans and what have you; or is it just me? When my kids are younger, I tend to block out any craft activities or work. I can never get anything done.You spend more time in the kitchen fixing food; the kids are alway hungry. You just fed them breakfast, and they’re already asking for snacks, you know, that sort of things. 

I for one tries my best not to resort to tv and electronic gadgets to fill my kids time. So, I thought I put together some of the crafty things you can get your kids to do and do these activities with them for some family bonding time.

#1 Batu Seremban

Good old fashion hand eye coordination game. Teach them how to make their own batu seremban with scrap fabrics, some coarse sand or rice, thread and needle. Nowadays, kids play with 5 batu seremban. You don’t have to stop at a set. Make extra sets so they can give it to their friends as birthday presents or a just because present. Or they can sell them and learn commerce.


#2 Rock Painting

I personally love rock painting as much as my kids do. I get a sack of medium size flat rocks, wash them and they are ready to be painted. Use acrylic paint and unleash the creativity. I used to get smaller rocks so I can get my kids to make cute stuff like these cute strawberries and I use them as pattern weights. The kids can also give them to their teachers as paperweights. Teacher’s day is in May so it’s a good time to get started on some DIY gifts. 


#3 Perler or Hama Beads


You can get a medium sized tub of perler beads from Ikea along with the base and set your kids to make their own stuff which you can turn into a keychain like the picture below. You can look up in the internet and find patterns which the kids can follow. When my son is 10, I let him use my mini iron to heat and fused the perler beads together. For younger children, you might need to help them with fusing the perler beads.


#4 Leathercraft


You don’t need to get vegetan leather. Scrap leather or faux leather would do the same trick. I have metal stamps so my kids use them to make leather keychains for their teachers and it’s hand-stitched.


#5 Air Dry Clay

You can get them from any online crafts shops. They are reasonably priced. And they are fun to play with. I made these cute kittycats many years ago and finished them as bag charms. My daughter loves them. I like the fact that I don’t have to bake them in an oven.


OK, that’s 5 crafty things you can do with your kids. From the pictures, it is hard to deny that I had a good time myself playing with things I never get to play with when i was a kid. Try it. It’s fun to let the kid in you out and play with your own kids once in a while. Leave a comment if you have other ideas for kids crafts during the school break.


Friday, February 26, 2016

Leather Necessary Clutch Wallet


You know when you have all the tools out, you might as well make the most of it before you start cleaning up and put them back in their proper storage. After Danial’s back quiver, and my mystery braid key fobs, I decided to dive into making my leather version of NCW to replace my old fabric NCW. I had to make a new one because I broke the turnlock of my old purse. 


Since I have the pattern, I printed a new set of pattern and adjusted them to take away the seam allowance. Working with leather, I don’t need the seam allowance. In the original pattern, the flap was done separately. For my leather version, I glued the flap to the body pattern and use it as a template to cut out the whole external piece of the NCW.


I used a 2mm vegetan leather and stained it light brown. My wool douber has felted after only a few uses and it gave the streaking effect on the leather. I like it. It looks like wood grain. Before anything else, I have to fix the turn lock.


I used a mix of leather for the interior of the purse. A nice soft lamb skin for the side gusset and card pockets (I didn’t trim it to reduce bulk, I should have). The other pockets were from scrap leather that I bought from Yee Button. All the pieces were painstakingly hand-stitched. The most difficult part was to stitch the sides for the divider and zipper pocket. After I stitched one side, I realised I could have just used rivets instead. Duh!

I love the look of my new leather NCW and have changed my purse. I wanted to attached some D rings so I can hook my strap and wear the purse as a cross body. 


Monday, February 22, 2016

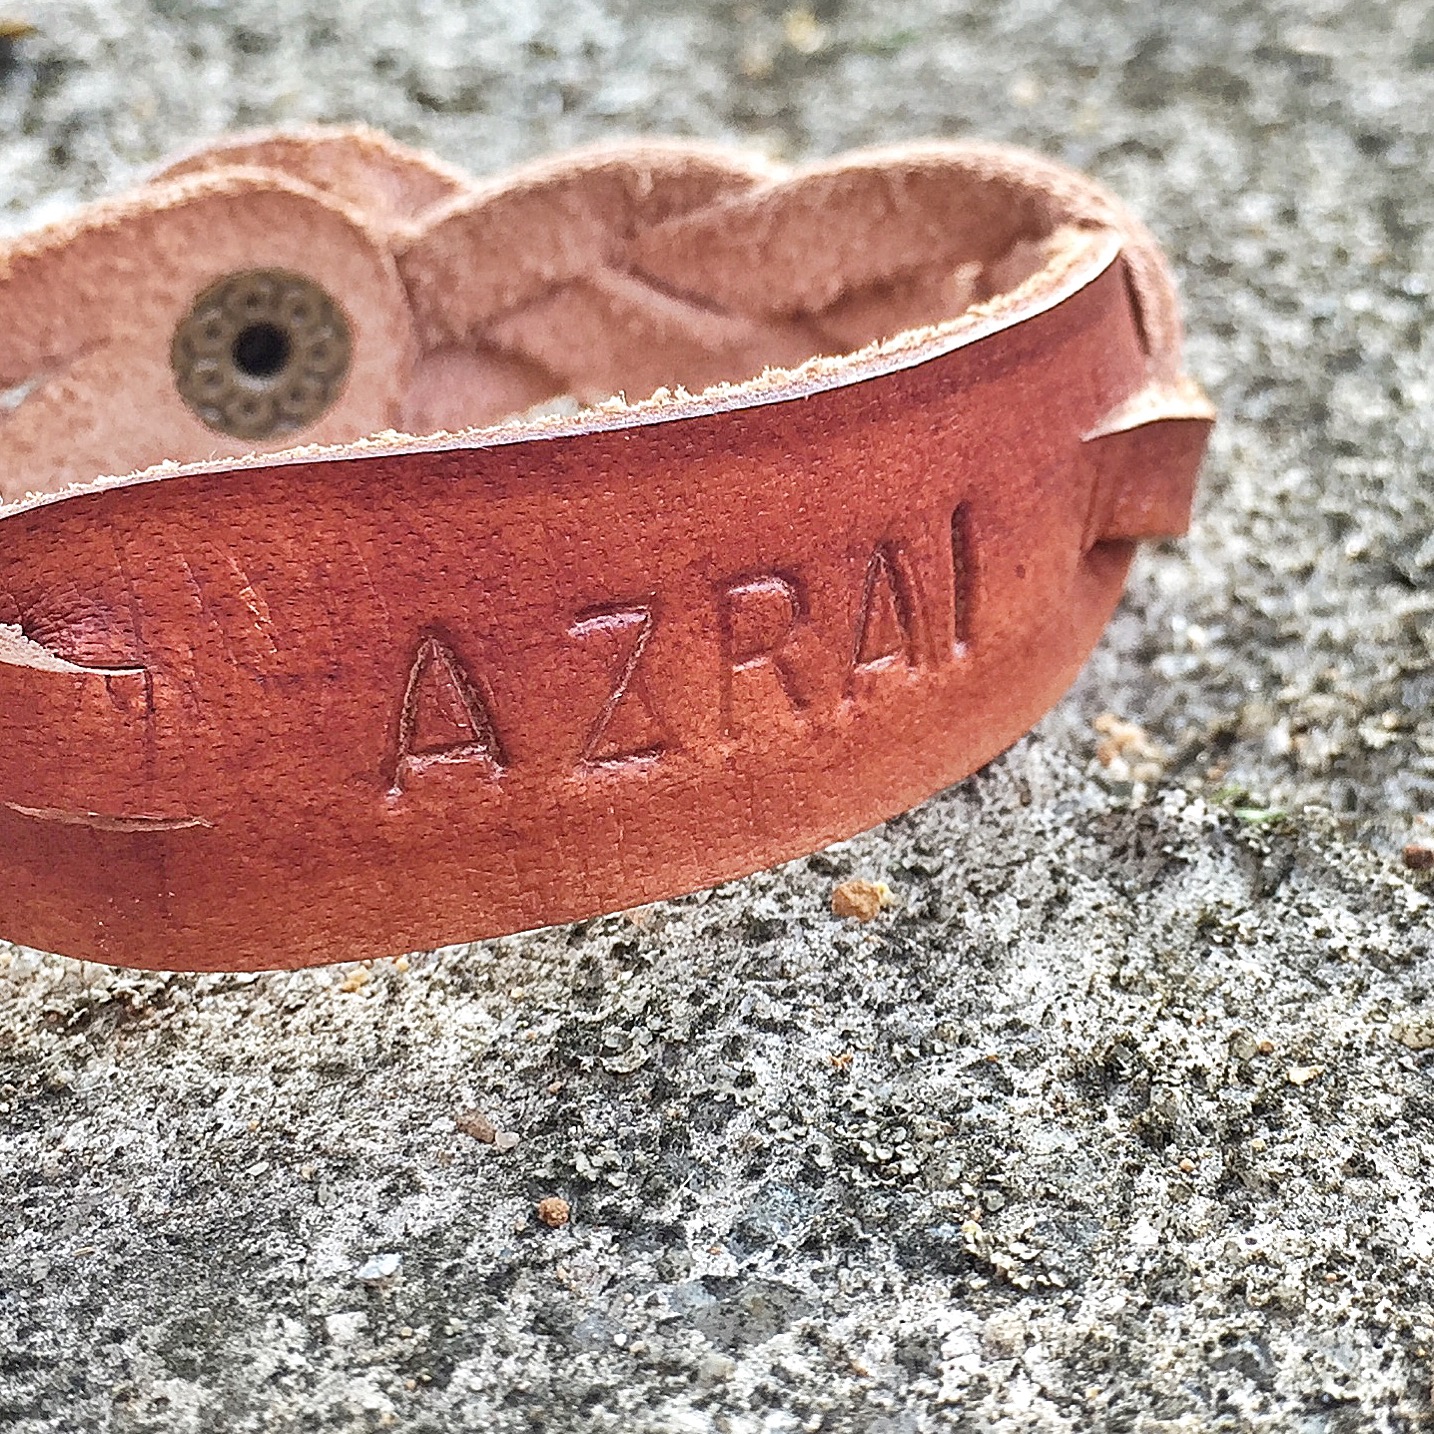
Mystery Braid Key Fob


After making Danial’s back quiver, I used some leftover scraps to learn how to make the mystery braid bracelet. I’ve several pins about how to do the mystery braid and you can check out my pinterest on leather craft here. 


For my reference purpose. I cut these straps 0.75” width by 9.5” length. I’ve discovered that the length would be adjusted as we weave the mystery braid by 1” leaving the total finished length of 8.5”. I cut three strands about 0.25” width and stop 1” from the ends  

I’ve also cut longer strips of 13” and 12” long and instead of having it as a bracelet, I turned it into a key fob. 


And for practise, I made several and stained them light brown. I’m selling them too. Drop me an email if you want to order them at rozirahman@gmail.com.


 A few days later, Azrai got me a set of metal stamps and I tested the stamps on the bracelet I made earlier. Cool huh?


Saturday, February 20, 2016

DIY Leather Back Quiver


Last Saturday, Azrai called the handyman to fix things around the house. I wasn’t in the mood for creative experiment but Danial asked if we can work on his leather quiver, I didn’t have the hearts to turn him down. So I took my leather stuff outside on our patio and cut out the basic shapes for the quiver. I’ve been pinning some back quiver pictures in my pinterest. One in particular showed how to mould the quiver with a pvc tube. I got hubster to go get a 3 inch pvc tube from the local hardware shop. I dampen the leather and wrap it around the tube and held it together with wooden pegs (using whatever I have around me). Thinking that it needed time to mould to the shape so I told Danial it won’t be ready that day. 

While putting the quiver aside, I thought I’d stain the other parts. The staining process was rather quick so I ended up staining the body too. Might as well so it can dry while taking shape. We left the leather to dry while I took the kids for their KUMON Recognition Day that day.


When we got home, the handy man was done with his work. So, it’s our time to make some mess. I glued and knocked in the belt with rivets to the body of the quiver; then punched holes to fix the rivets to join the seam. I knocked in a few rivets before cutting the excess leather. Seen here, Danial helping me with setting in the rivets before I knock them in. He’s super excited but patient enough to help me get his quiver done. He’s confident that we could finish the quiver the same day.


I gave Danial the task to burnish the edge of the quiver. 


 Fixed the buckle and got Azrai to make the holes for the buckle to fit Danial.


 And there you have it. Danial’s very own leather back quiver. He was so happy that we finished it in time for him to wear for his archery class the next day.


Monday, January 25, 2016

New Craft for 2016 - Leather Craft


Last Saturday, 23 January 2016, I went for a leather craft class at Yee Button to learn how to make a card holder. That was my first time handling leather and learning all that is to know about leather, well, the basic that is. It was SO interesting and I was SO in love with the whole process of making leather goods. My teacher is M and he’s a pro at leatherwork. I was so engrossed in learning all there is to learn about making the cardholder, that I didn’t bother to take pictures. But my buddy in crime, Mas Rimaumanja who happen to come for another leather workshop snap some pictures of me. Thanks a million Mas! muah! muah!


Making that little card holder involves a lot of process. No wonder leather goods are expensive. It’s not just the material alone, it’s the workmanship that goes into it. I bought the whole set of tools needed to do more leather craft and shared half a buffalo vegetan leather with Mas for practise. The first thing that I wanted to make is something quite straightforward but being a new craft to master, not as straightforward as it seems; an Iphone sleeve.


This Iphone6 Sleeve is similar to one that my brother used to carry when he was using Iphone4S. I love the simplicity of the design. It protects the phone when you slip it in the jeans pocket and it protects it from scratches from the keys and whathaveyous when you throw it in the handbag. 


Having worked with cow vegetan leather to make the card holder and now working with the buffalo vegetan leather, I can actually feel the difference. I would have to make the most out of it for the time being because the latter can do serious damage to the pocket. The buffalo leather feels tough to me but I think it will make a good bag straps, very durable. I’m thinking of making my son a quiver for his arrows. how cool would that be, huh?


I did try to cut the leather with my Silhouette Portrait but failed big time. It did cut but didn’t quite cut through. I guess the blogs I read about cutting leather with Silhouette uses really thin and soft leather. 

I need to get more supplies for my leather craft. My practise leather is not evenly coloured so I think I’d dye it a different colour. I need rivets, snaps, wool dauber, and the list goes on and on... Oh, one thing top in in my list would be the metal stamps. Being able to personalised the leather with your initials would be cool, right? How I wish my money grows on tree...

Anyway, if you’re interested to learn leather craft, check out Yee Button’s Facebook page here.


Nuffnang