Showing posts with label pouch. Show all posts

Friday, March 11, 2016

2016 Jumble Sale Hospital Ampang


2016 would be my second year participating in Hospital Ampang’s Jumble Sale. It’s happening this 25 March 2016 at the hospital itself. One table is allocated for handmade products under ACG banner which will be manned by Mastura Mustaffa of WhimsicalnQuirky. 

Learning from last year’s experience, I’m duplicating Mas’ formula and doing a pre-sale to collect funds for Hospital Ampang’s needy patients. I’m pledging a certain amount from the sale of my handmade items made in March for the coffer:

5”X 7” Calico pouch with Whimsical Heart embroidery motive
RM15.00 only
RM10.00 from the sale of this pouch will go towards  Hospital Ampang Jumbo Sale collection

Calico Embroidered Tissue Pouch 
RM8.00 only
RM5.00 from the sale of this pouch will go towards Hospital Ampang Jumbo Sale collection

Personalized Leather Keychain
RM25.00 only
RM5.00 from the sale of this pouch will go towards Hospital Ampang Jumbo Sale collection

Personalised Baby Announcement Pillow
RM45.00 - RM65.00
RM 10.00 from the sale of the pillows made in March will be go towards Hospital Ampang Jumbo Sale collection
(To order, email me at rozirahman@gmail.com or WA 012-2038117)

You can support the cause by:
1. donating items for sale (contact details on the poster above)
2. shop and support the vendors during the jumble sale day
3. purchase your handmade item done by me :)


Thursday, August 4, 2011

A Resized Cosmo Bag and A Key Keeper Coin Purse


This is hot from the oven. Or should I say, hot from the sewing machine. I can’t believe I’m working on a snail pace. This bag took me 3 days to complete! Fact #1: Smaller bags are tedious to make. No wonder Amy Butler made this bag as big as she can. This resized version is about 30% reduction from the original size. My original bag is hanging on clothes line so can’t put them side by side. Visually, it looks a lot smaller, although mathematically it’s correct (measurement wise). It looks cute though but for the time being, I’m much more comfortable with the original version. This bag is for a friend. I’m working on the second one, before I can start on my hari raya clothes sewing. In the background you can see the magazine box organizers where I keep all my patterns. This table is next to the window. I wanted to take a quick photo so instead of moving them away, I used them as part of the props.

This is a Key Keeper Coin Purse, one of the designs in the Amy Butler’s book. It looks cute but going back to Fact #1, the tedious level just made this something I will not pursue in the near future.

I edited the picture with some artistic effect called ‘fresco’ in my Photoshop Elements 9.0 to make it interesting. It was rather flat.

 This is another view of the purse. Oh, I almost forgot. It’s already the 4th day of fasting month (Ramadhan) and I would like to wish all my Muslim friends a blessed Ramadhan. Selamat menjalankan ibadah puasa. Semoga semua amalan kita diterima dan diberkatiNya selalu.


Wednesday, August 4, 2010

30 minutes easy handphone pouch tutorial

This is my 30 min easy handphone pouch. when the flap is down, it measures approximately 4.75” x 3”.

Why am I doing this tutorial:

  1. To catalogue my designs/patterns. I sketch on loose papers, recycled envelopes, anything and very bad at organizing and keeping my patterns. So, by having it here, I can refer to it the next time I want to make a pouch.
  2. Sharing is caring. 
  3. To have a go at writing a tutorial. And if anybody can actually make sense of this tutorial and make a decent pouch, I’ll be over the moon!
OK, moving on. You need:

1 piece of outer fabric (15.25” x 4”)
1 piece of inner fabric (15.25” x 4”)
1 piece of fabric for strap (13” x 2”)
batting (14.75” x 3”)
Hoop and loop (velcro)
My seam allowance is 0.5” unless otherwise stated.


Mark 0.5” from the edge on the inner fabric (on the wrong side of course)


Then, spray some adhesive and stick the batting on the wrong side of the inner fabric like shown above, keeping in the lines marked earlier. Press firmly and leave it for the time being. (If you have iron on fusible web thingy, just go ahead and use that)

Now for the straps. Press the strap into half, open it and fold both edges in (am I making any sense here?) so that you have 0.5” wide strap.


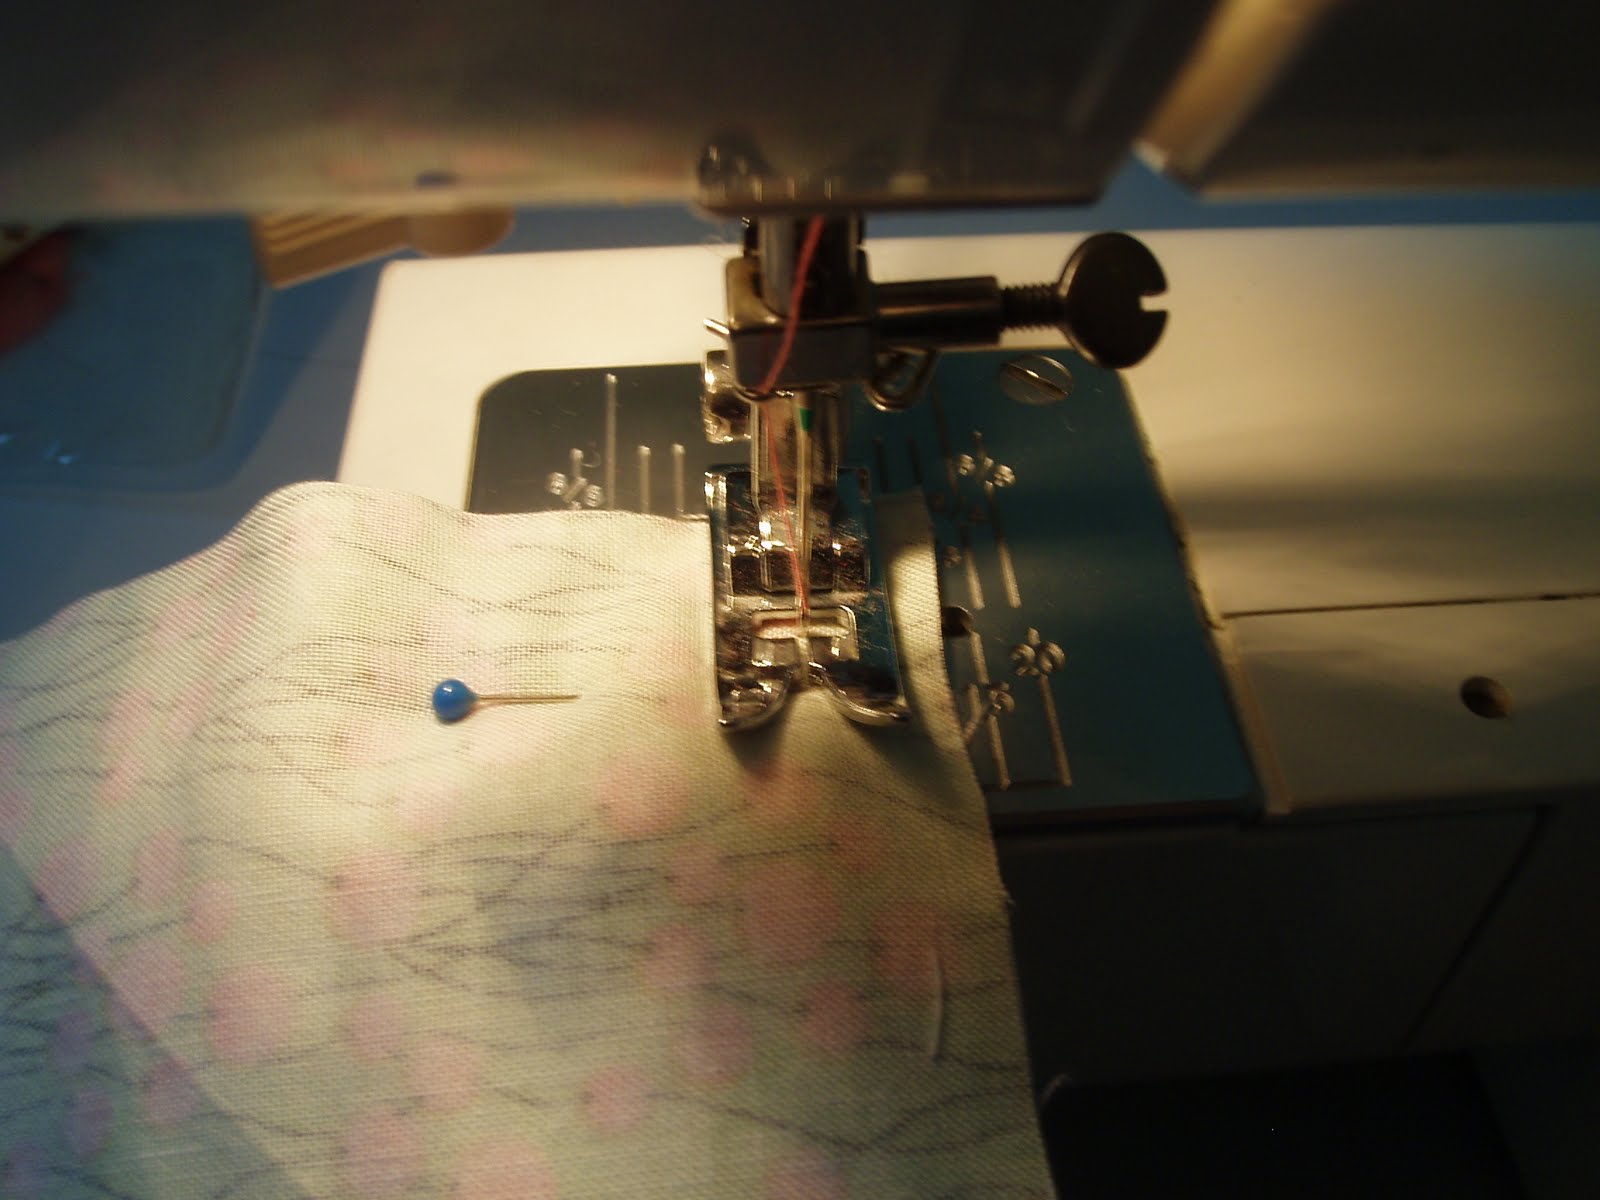
Now it’s time to crank up your machine and machine-stitch the strap keeping close to the edge. I like to keep it uniform and sew the other edge as well. Straps done, put is aside for later.


For the body, layer the outer and inner fabric right side facing each other, so you’d have batting, inner fabric and outer fabric in that order. Sew the shorter ends on both sides. (I find that it’s easier to sew with the batting on the bottom)

OK, stay with me. turn the fabric right side out on the side. My outer fabric is the green one and I fold in approximately 4.75” in like so:


Now, mark for the closure. I mark about 1” from the fold on the outer fabric and 0.5” from the edge on the inner fabric.
Tip: I stitch through the 3 layers for the closure on the outer fabric but just two layers (inner fabric and batting) on the inner fabric so you don’t see the stitches on the flap.

Machine stitch the velcro hoop and loop whichever side you prefer and you have something like this:


Turn it wrong side out again, This is the tricky part (to explain).  Sandwich the body of the pouch between the inner and outer fabric. You’d get the total measurement like so:


See, this is what I mean... 
You also want to get your strap and slip it in where you want to have it, sandwiched like above and machine stitch both sides leaving some space on one side to turn out your pouch. (Make sure you don’t stitch on the strap) Snip the corners. You can even trim down the seam if you want to but I just leave it. But corners, must snip.


Turn out your pouch the right side out from the small opening you left earlier and TADA!!! You’ve got yourself a pouch. The last bit is to hand stitch close the opening on both outer and inner sides of the pouch. It can be a reversible pouch if you use buttons. A matter of personal choice.
So, there you have it, a 30 minute easy handphone pouch (the size fits my Nokia MusicExpress too). You can embellish the pouch to your heart’s desire.

Good luck! Let me know if you do make one with this tutorial. I’d like to see the finished product.

Note: My apologies for the quality of the pictures. I’m using my old point and shoot Olympus. The photography process is the one that’s taking more time than making the pouch itself!

This tutorial is for PERSONAL USE only.


When I can’t sleep, I sew


These past few nights, I would wake up at around 3 where Arwen would start fussing for feeding and have trouble going back to sleep. I made a wall pocket organizer last monday using IKEA fabric that was on sale. The whole back panel serves as storage for my rulers and cutting mat. Observe below:


I only made bellow pockets on the bottom panels. The top two pockets are the straight forward ones. I’ve also got hubby dearest to knock some hooks to put it up and my spool rack. It’s now on the wall facing my cutting table and it’s easy to keep all the tools like scissors, rotary cutter, seam ripper, tailor’s chalk, form curve ruler, etc etc so they don’t get lost under the mess as I sew (hopefully).


I also managed to make a Ipod/Iphone pouch for a friend’s birthday present. I saw Zura made one and published it in her blog and thought it was easy enough to replicate. I used my fat quarters stash. Colours so sweet.

I woke up at 3 again this morning and made another pouch. This time, I took pictures of the process, thinking of doing a tutorial. Stay tune for that...

p/s: Alhamdulillah, my body clock is being set to wake up for sahur kot... tu yang asyik terbangun kol 3 jer.


Nuffnang