Showing posts with label chalk mat. Show all posts

Friday, February 17, 2012

February bazaar: Little Red Market


Made by Rozi Rahman will be making it debut at Little Red Market happening on Saturday, 25th February 2012 at 32, Jalan Beka, Bukit Damansara. I’m so looking forward to this bazaar and I’ve been working on some items for sale on that day. Here are some I’ve prepared so far:

Pin cushions


Mug rugs. This is one that I just finished earlier today. Love scrappy crazy quilts

Laminated baby bibs

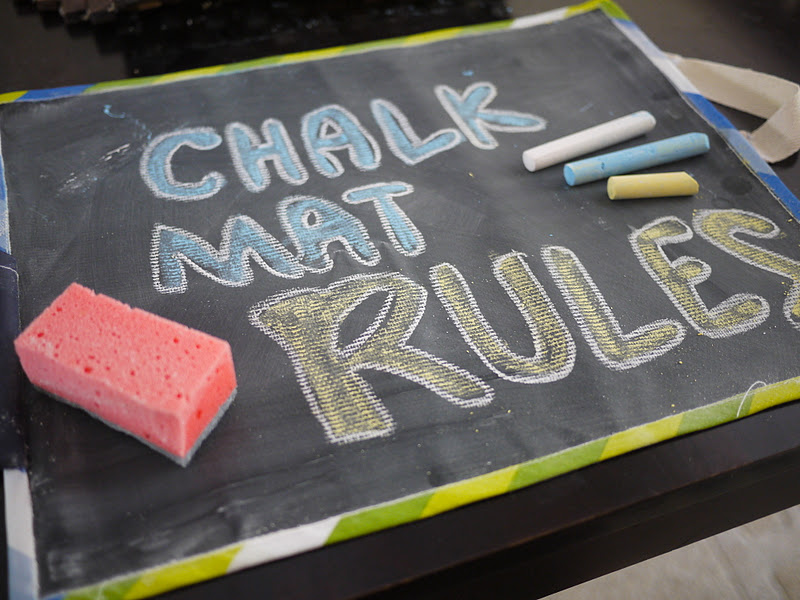
Chalk mats


Key fobs


Bag tags

DSLR Camera strap covers


Pacifier clips

and God knows what else I can churn out of my sewing machine. I have just over a week to go for the market. Oh, I’ll be making scrappy key chains too:


I sell this for RM3.00 a piece but FREE with any purchase. It’s available while stock last.

So, please come and show some love :)

You can follow Little Red Market at their Facebook page here.


Monday, February 6, 2012

Tutorial: Chalk Mat ver 1.1

I’m preparing some items for sale for my upcoming bazaar and made these today. They are chalk mat ver 1.1. The ver 1.0 is finished with bias tape on the edges. It’s nice but it gets dirty from the chalk dust. So the newer version, I took out the bias tape. Here’s the how to:

 Materials:
Oil cloth or laminated cotton measuring 13”x 16”
A scrap piece approximately 5” x 6” for the chalk pocket
Chalk cloth measuring 12” x 15”
Ribbon. I cut mine about 20” long


This is my machine setting:


Take the scrap piece for the pocket. Fold about 1/2” in and stitch. I used a zigzag stitch with the above setting.


Here’s how it looks like when finished.

The right side:

Fold the pocket piece into two and stich along the bottom of the piece (opposite the zigzag stitch made earlier)

Like this:

Turn right side out and keep it aside for later.

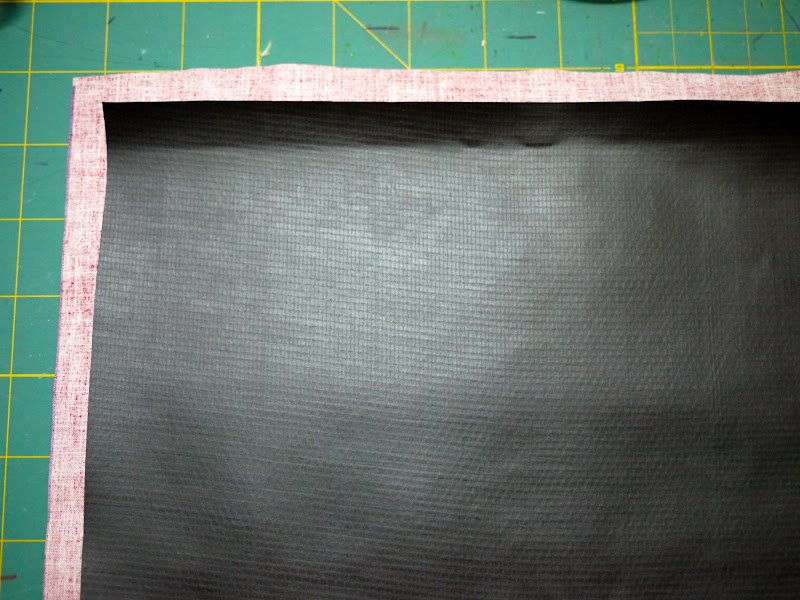
Lay the oilcloth right side down. Layer the chalk mat wrong sides together like this. You will have about 1/2” allowance as the oil cloth is larger than the chalk mat.

Fold in the long sides like this:

And stitch. You can you straight stitch. I used zigzag stitch. Repeat the process on the other long side.

Fold in the corner like this and pin in place:


Slip in the pocket about 1.5” to 2” from the bottom and pin in place. Stitch. Repeat on the opposite side.

Turn the chalk cloth on the right side. Mark the centre of the short side. Place the ribbon in the centre and stitch.

I went over it 3 times.

I finished the ribbon ends with fray check. Alternatively you can heat set it.
 
Stick a couple of chalks inside the pocket and TADAAA! you got yourself a chalk mat.

I hope the instructions are clear enough. Good luck and have fun with your chalk mats :)


Wednesday, January 18, 2012

Chalk Mat

I received my chalk cloth in the mail yesterday and the kids were curious with what I planned to do with it. I showed Danial a few photos on the internet of some cute chalk mats and he got excited. He even asked me to sew one last night. But I promised that I make one for him and it will be ready by the time he gets home from school today. So this morning, after seeing Danial and Azrai off, I got started on my chalk mat. The first prototype was for Arwen. This is the first time, when she woke up that she stayed next to me and the sewing machine for me to finish the chalk mat. She was so excited that she didn’t take her breakfast and went on and on doodling away on the chalk mat. While she was preoccupied, I managed to make a second one for Danial. 

There’s a lot of tutorials for chalk mats so I’m not going to do one but just show you how mine is different. I like the bias tape finishing so I had mine finished with bias tape borders. I made mine from some IKEA fabric.

For the fun of it, I attached my DIY printed labels on the mat.


Knowing that my kids can’t tie a knot, i decided to use my snap buttons. the mat is rolled and secured with some twill tape and I pressed the snap button at the ends.


I made the pocket to keep the chalks and eraser with some scrap oilcloth and sew it to the bias tape so it can move out of the way so you get the maximum doodling space on the chalk mat.


I cut a kitchen sponge to half, one for Arwen and one for Danial and gave them a few sticks of chalks.


Prior to using the chalk mat, I read in many places that you should prime or cure it first by rubbing the side of the chalk and wipe it clean. 


It’s lots of fun to make and my kids are having lot of fun doodling on it. I think this is healthier in encouraging creativity in our children than handing them a PSP or an Ipad.


I’m definitely going to make some more of these and put it up for sale in my next bazaar.


Nuffnang