Tuesday, September 13, 2011

A Quick Embroidery Job

My husband asked me if I could embroider the name of his company on his work shirts and I said, “Sure”. That was a month ago. He reminded me again last week and I thought I better get it done before he takes it to the professionals. Nothing fancy, just the name of the company. I used one of his worn out shirt made a few samples with different layouts and sizes of the fonts and he agreed on this one. You can see the water soluble stabilizer on the finished item.

For the fun of it, I’ll take you on a step by step process of this embroidery job. Why? 1. I’ve not updated my blog for awhile and 2. I just need to warm up my camera and snap some pictures and what good are the photos if they just stay in the harddisk? So here’s sharing some pictures with you all out there.

 I used two types of stabilizers;

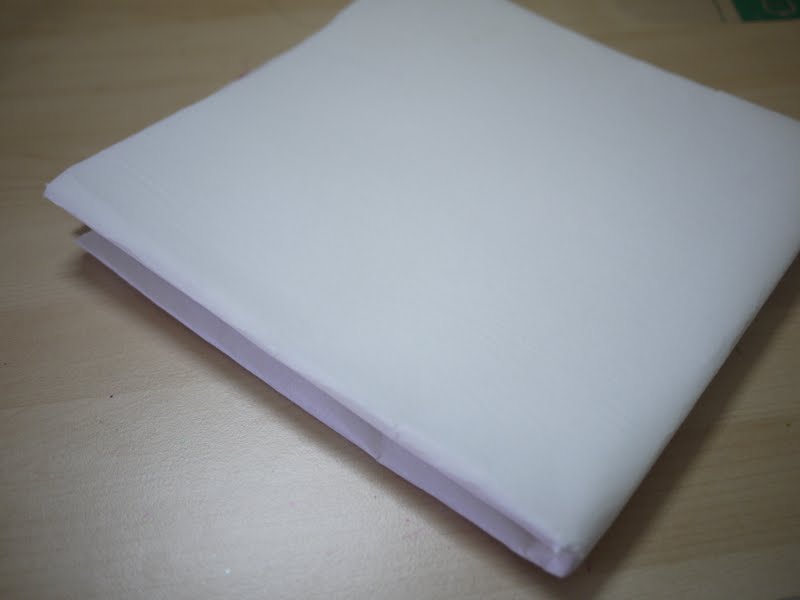
1. the water soluble stabilizer. I found it after asking Mr. Yee of Yee Button and he ransacked his store and found me this. The roll is actually longer about 40” but a big chunk of it was spoilt (cockroach and lizards’ droppings) and Mr. Yee let me have the whole roll for a bargain price (I can’t recall how much). I took it home and saw off the rotten end and this is what I can salvaged.
 2. The paper stabilizer. Quite thick. I think this is from one of the projects from Epal.
 I cut just about enough to cover the work area and pin in to the shirt like this. this is the back view.
 This is the front view where I’ve marked the area where I want to embroider with water soluble marking pen and put the hoop on the shirt. Important note: the shirt is knit fabric so don’t stretch it when you attach the hoop. I did on my first trial and when I took off the hoop after the embroidery, the fonts got distorted and looked funny. Anyway, back to the story, again, I just cut enough stabilizer to cover the work area and pin it to the shirt.


 Then, set the machine. I use Brother N900. The machine is almost exclusively used for embroidery. I realized that I’ve misplaced the presser foot holder when I want to use it for normal sewing a few days ago. My other portable is acting up. The stitches kept jumping. Good thing the presser foot holder on the old portable fits this machine. At least I can still sew while getting a replacement.

After you’ve adjusted the size, placement, etc, just let sit back and let the machine run. When it’s done take the hoop off and trim the excess thread and stabilizer and there you have it!

OK, end of story. I’m off to make something more interesting.  That would be later. Now I have to give Arwen her bath. She’s been screaming bloody murder for the past half an hour!


Thursday, August 25, 2011

Danial’s Pink Tie Shirt


It’s been a while since I last knit for Danial. I stumbled upon this cute pattern here while browsing for a pattern for Danial and decided to knit one for him. The original pattern is a bottom up raglan shirt. I improvised and followed this formula to make a fantastic fit raglan shirt here and made it top down and seamless. I love knitting in the round!

It took a bit of time convincing Danial to let me make the pink tie for the shirt. It turned out just so adorable don’t you think? Danial calls it his ‘work clothes’ :) Just like dad :)


It was gloomy so we shoot outside.


Pink tie, up close and personal. In my campaign to get Danial to ‘buy’ my pink tie idea, I told him it’ll be just like Donald Trump. LOL

Tuesday, August 23, 2011

Funky Reversible Arm Sling


My sister in-law had a surgery on her shoulders about a week ago and we went to visit her at the hospital. I saw the hospital issue arm-sling which comes in a blue canvas like material. She has to wear it to support her arm while the shoulder heals. We left the hospital after breakfasting.

Later that evening, my sister in-law texted me and asked me if I can make a ‘nicer’ arm-sling with my designer cotton scraps. She should’ve told me earlier so I could borrow the blue arm-sling as my template. Nevertheless, I agreed and immediately googled for an arm-sling tutorial. It’s amazing how easy it is to find things over the net nowadays. I found a few good tutorial here, here and here and decided I can wing it without a template. 

I used 2 FQ to make the sling reversible. I interfaced one of the FQ for added durability. I used cotton webbing instead of nylon webbing and added a shoulder pad on the strap for extra comfort. I like how it turned out. Cool huh? But I won’t break my arm just so I can wear one of these, No thanks :)

It took me less than an hour to make this. I started after sahur and while waiting for subuh, I cut the fabric. I continued after subuh and had this done. This is me trying on the arm-sling with Groovy in Spring:


And this is the reverse side with Mingle in Black. Both FQs are from Robert Kaufman. 


Dzareen, we pray for your speedy recovery. At least you can recover in style with this arm sling :)


Monday, August 22, 2011

All Set for Hari Raya

I’ve finished baju raya for the kids. I’m still old fashion when it comes to raya. I prefer the traditional baju kurung to the modern one. I just spiced it up with the fun fabric. This year, I’m using Sanctuary by Patty Young for Robert Kauffman. I used Glass Tiles in Seafoam for Arwen’s baju kurung and finished off the collar with sembat mata lalat. I think it’s somewhat (or actually is) like a bullion knot. That’s the only finishing that I know how to do and even that I learnt if off the internet. I used some scrap from my baju kurung for the covered button. Isn’t it cute?


For Danial and Azrai, I used Zen Garden in Grey. I’ve done the tops. Azrai bought himself a matching grey pants to match so I don’t have to make a pair of pants for him but Danial insisted on having the whole baju malayu in matching fabric. It’ll be nice if I know how to sembat tulang belut for the baju melayu. I need to cut for Danial’s pants now and for the last week to go before Eid, I might just be able to squeeze in and sew a matching tudung for myself and a shirt for Azrai since he didn’t buy any clothes for raya. 

In case this is my last posting before Eid, here’s wishing everybody 

“Selamat Hari Raya Aidilfitri”

“Maaf Zahir dan Batin”


Wednesday, August 10, 2011


Made these beauties for my photobud, Nor Shila Mustapa. Love the striking and bold contrast of the red polkadots on the small flowers handles. Making the resized Cosmo Bag is a challenge of it’s own though. The smaller the bag, the tedious it became. I’d stick to the original size. Hmmm... I’ve said this before. Dejavu. Thank you Shila for supporting my handmade :). I hope you like them :)

Friday, August 5, 2011

More pictures on Baju Raya Arwen #1. I like the colours of buttons that Arwen selected personally :)


Posted by Picasa

Arwen’s Baju Raya #1


Marrying the two things I like, knitting and cute designer cotton. This is Arwen’s baju raya #1. The pattern for the bodice is somewhat my creation. I need to fine-tune the pattern before I upload it for future reference. I love the knitted bodice, don’t you? This is still a WIP. The skirt is only pinned to the bodice. I fell in love with it and couldn’t wait to take a picture and share :)

Nuffnang